
Seriously, this is the best thing to happen and I'm SO HAPPY about it. :D With ownership comes the want to really make the place MINE. So....I created a list and picked a project to start....and then my husband informed me that while he doesn't care what project we do, he really does think it should be one that will give us more storage space or something. So...we compromised. I wanted a fun project, he wanted practical we combined them and decided to tackle the....Laundry Space.
Here's our laundry room back at the first of November:

It was, quite literally, a disaster. We collect juice/pop bottles and use them for water storage and they were getting out of hand. We finally took some time and filled them up and put them away. I was left with this:
.JPG)
However, I didn't like their black crates because of the lighting of my space. SO....I went with a fun bright blue. I gave y'all a sneak peek on Instagram a few weeks ago:


Pretty, no? While I was off teaching Saturday morning, my sweet husband took down the hideous, long shelf from the laundry room.

THEN came the installing. Not knowing where studs might be in our wall, and not wanting (at this time) to get a stud finder...we decided to use liquid nails in combo with a hammer and nail. In retrospect I would have rented a nail gun from Home Depot. Those suckers were a pain to nail to the wall!


 |
| source |
 |
| source |
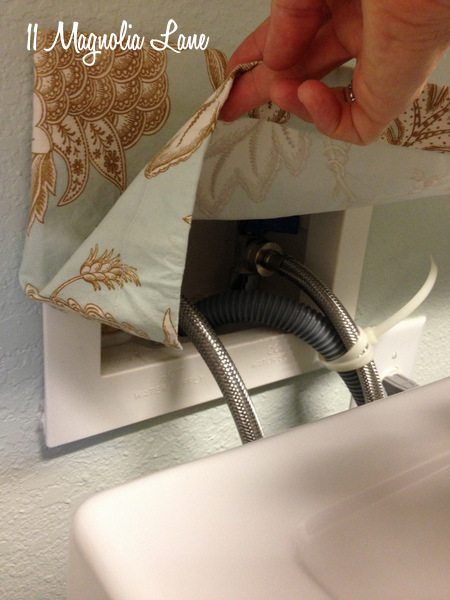
to hide the hideousness of the cords for the washer. Seriously, why can't they put them so that they'll be lower than the height of the washer? Sigh. Also, I think I might try to move the laundry are light to being inside the closet and what not. Maybe. Not sure about that yet. Overall, I am very happy with our first (of many!!) DIY projects. :D
And just in case you missed it my new lovely laundry space that makes me oh so happy:
No comments:
Post a Comment